Previously, we wrote about how to root Samsung galaxy s8 with KingoRoot. In this blog post, we will discuss how to root the Samsung Galaxy Tab 4.
Android is truly an open-source platform that enables its users to run the device willingly. Over the years, the expanding ecosystem of applications and plenty of outstanding and robust features, Android has provided the capacity to its devices to perform optimally. Having all these facilities and better ways to operate an Android device, many ways make the OS more charming and fascinating for the users. How is it possible? It is possible to root the device and do whatever you want, and break the rules that have been restricted by default. This article will enable you to root the Samsung Android devices, which also include the Samsung Galaxy Tab 4, by using plenty of methods and available software on the web.
But users need to know the best and most effective way to root the device, safely and accurately. Therefore, the user has to make some sort of preparations before initiating the rooting process. If you are looking for a way to install root-only apps on your Samsung Galaxy Tab 4 (10.1). Then don’t go away further, just take a look as under, and get to know how to gain root access on your brand new Samsung Galaxy Tab 4 (10.1) and get plenty out of it.
Do you know what rooting is? Rooting is getting administrative rights on your Android device, such as the Samsung Galaxy Tab 4. Once you are going to root your Android device, you have to make changes in the operating system to customize it very well and far beyond what it normally does.
When you have made up your mind to root the Samsung Galaxy Tab 4 device, then you have to prepare for the following things.
- Delete all the pre-installed apps of your device added by manufacturers.
- Make free the storage space to get the aforementioned advantages.
- Do whatever you can to enhance the battery power, and running applications consistently on your Android device has to be removed.
- Update the latest version of the Android device with the help of a custom recovery/ROM, and then take a look at the procedure to have plenty of information.
- You will have dozens of other customizations very soon after getting the new administrative rights flash custom ROM.
Are you ready for that? Let’s get to know how to root the Samsung Galaxy Tab 4 (10.1)
- Keep in mind the following before rooting! TOS Android Spy is compatible with rooted and unrooted Android operating systems.
- You may lose your device warranty, and you would not be able to make any kind of claim. You have to do it at your own risk, and there are chances that you may damage your device.
- It applies only to the SM-T530 model of devices.
- It is helpful on windows based PC.
- You need to have Samsung USB drivers installed on your PC. In case you don’t have them, download new ones.
- Download the necessary files
- First of all, download Odin.
- Then download CF-root and save it on the PC’s desktop.
- Root the Samsung Galaxy Tab 4 (10.1) (SM-T530)
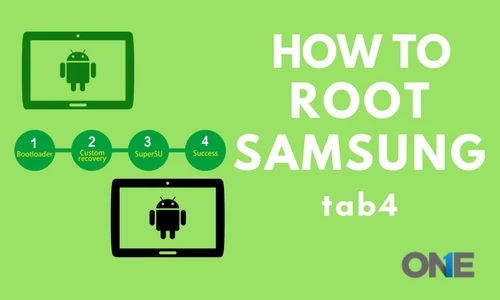
11 Steps to Root Samsung Galaxy Tab 4 (10.1)
- Withdraw files from Odin and from CF-Root to your desktop by making a click on both of them and selecting the Extract here.
- Now, make a double click on Odin and activate it.
- Make a click on PDA & select the CF-Root files which you have withdrawn earlier from your desktop.
- Now is the time to uncheck the repartition box if you have checked it earlier.
- Checkmark the Boxes which shows auto reboot and F. Reset Time.
- Switch on your Samsung Galaxy Tab 4 (10.1) device.
- Make it on the back, decrease the volume, home, and ON and off button at the same time.
- Turn your volume up by pressing the key, and you will be in download mode.
- Attach your device to the PC through a USB cable.
- Click on the start button on “Odin,” and it will accelerate flashing the root file on your Android device.
- Once the files flash, your Samsung Tab 4 will reboot automatically. Now you have a rooted Samsung Galaxy Tab 4 (10.1) device; further, you can make sure by installing the Root Checker app from Google Play.